Web Scraping with Microsoft Excel
As an excel user, you are likely familiar with Excel’s powerful capabilities for data manipulation and visualization. But did you know that you can also use Excel for web scraping?
In this detailed guide, we’ll explore two methods: the traditional approach and the innovative “Add Table Using Examples” feature in Excel’s Power Query.
Method 1: Traditional Web Scraping in Excel
Step 1: Open a New Workbook
Start by opening a new Excel workbook or adding a new worksheet to your existing file.
Step 2: Run a Web Data Query
Go to the Data tab at the top of your Excel worksheet.
Click Get Data on the left and select From Other Sources.
Choose From Web.
Insert the target URL containing the table data you want to collect and click ok.
Excel will automatically identify the tables on the website. Select the desired table and then click on the dropdown next to Load at the bottom of the screen to choose the destination of the importing table.
Step 3: Decide Where Data Is Imported
From the dropdown, there are two options - Load will automatically import data into a table in the existing workbook, however to choose how and where the data will be loaded to, select the Load To option.
In the Import Data dialogue box, select how you want to view the data, and also choose where you want the data to be stored, either an existing worksheet or create a new one.
After that click OK.
Depending on the site and data points, this may take a few seconds to minutes.
Method 2: Add Table Using Examples (Power Query)
Step 1: Open a New Workbook/ a New worksheet in an existing workbook
Start with a fresh Excel workbook or open a new sheet in an existing workbook.
Step 2: Navigate to Data > Get Data > From Web
Same as before, go to the Data tab and choose From Web.
Step 3: Paste the Webpage URL
Insert the URL of the webpage you want to scrape.
Click OK.
Step 4: Select “Add Table Using Examples”
At the bottom of the Navigator pane, you’ll find this magical option.
Click on it.
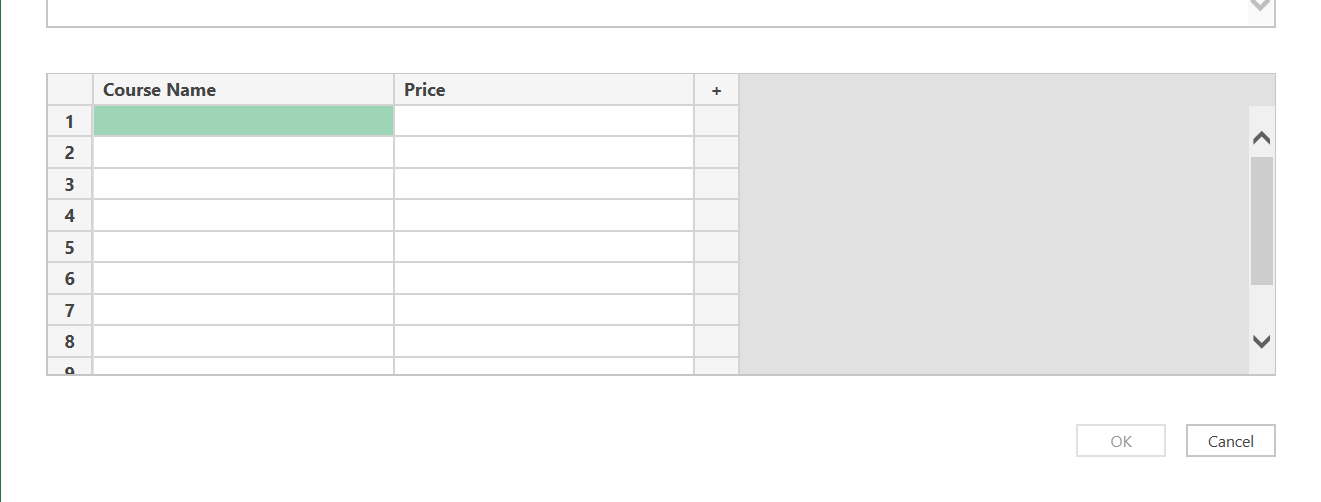
Step 5: Rename columns or add new columns
Double click on the column title to rename it.
Add new columns by clicking on the plus (+) sign.
Step 6: Create Your Custom Table
Preview the webpage to be scraped and provide examples of the data you want to extract.
Preview the webpage to be scraped.
Excel will analyze your examples and generate a table based on patterns it detects.
After that click ok.
Step 7: Review and Confirm
Preview the generated table under the newly created custom table folder.
Confirm that it accurately captures the data you need.
Click Load to bring the table into your workbook.
Conclusion
Excel’s web scraping capabilities are more versatile than ever. Whether you stick to the traditional method or embrace the “Add Table Using Examples” wizardry, you’re equipped to conquer unstructured data.


